
With a broad and deep knowledge of the outdoor & cycling markets and extensive product development experience, Lindarets is able to provide anything from fresh perspectives on existing offerings to brand-new turnkey solutions.
We have experience in most aspects of the industry, including hardgoods, softgoods, and hardware as well as the resources needed for cost-effective and quick-turn prototypes as well as and short-run production.
Lindarets specializes in solutions designed for functionality, manufacturability, and long-term serviceability.

Lindarets-Designed Products
-
Next Generation Fixed Wing Helmet
![]()
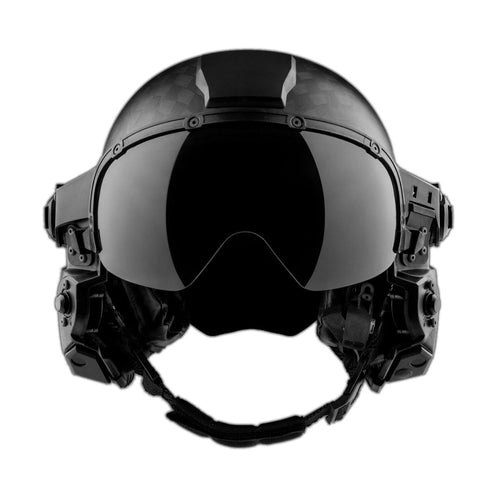
- Vendor
- LIFT Airborne
- Regular price
- $0.00 USD
- Sale price
- $0.00 USD
- Regular price
-
- Unit price
- per
Sold out -
ReMote Dropper Post Lever
![]()
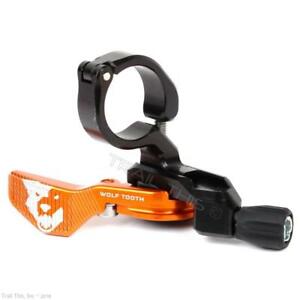
- Vendor
- Wolf Tooth Components
- Regular price
- $64.95 USD
- Sale price
- $64.95 USD
- Regular price
-
- Unit price
- per
Sold out -
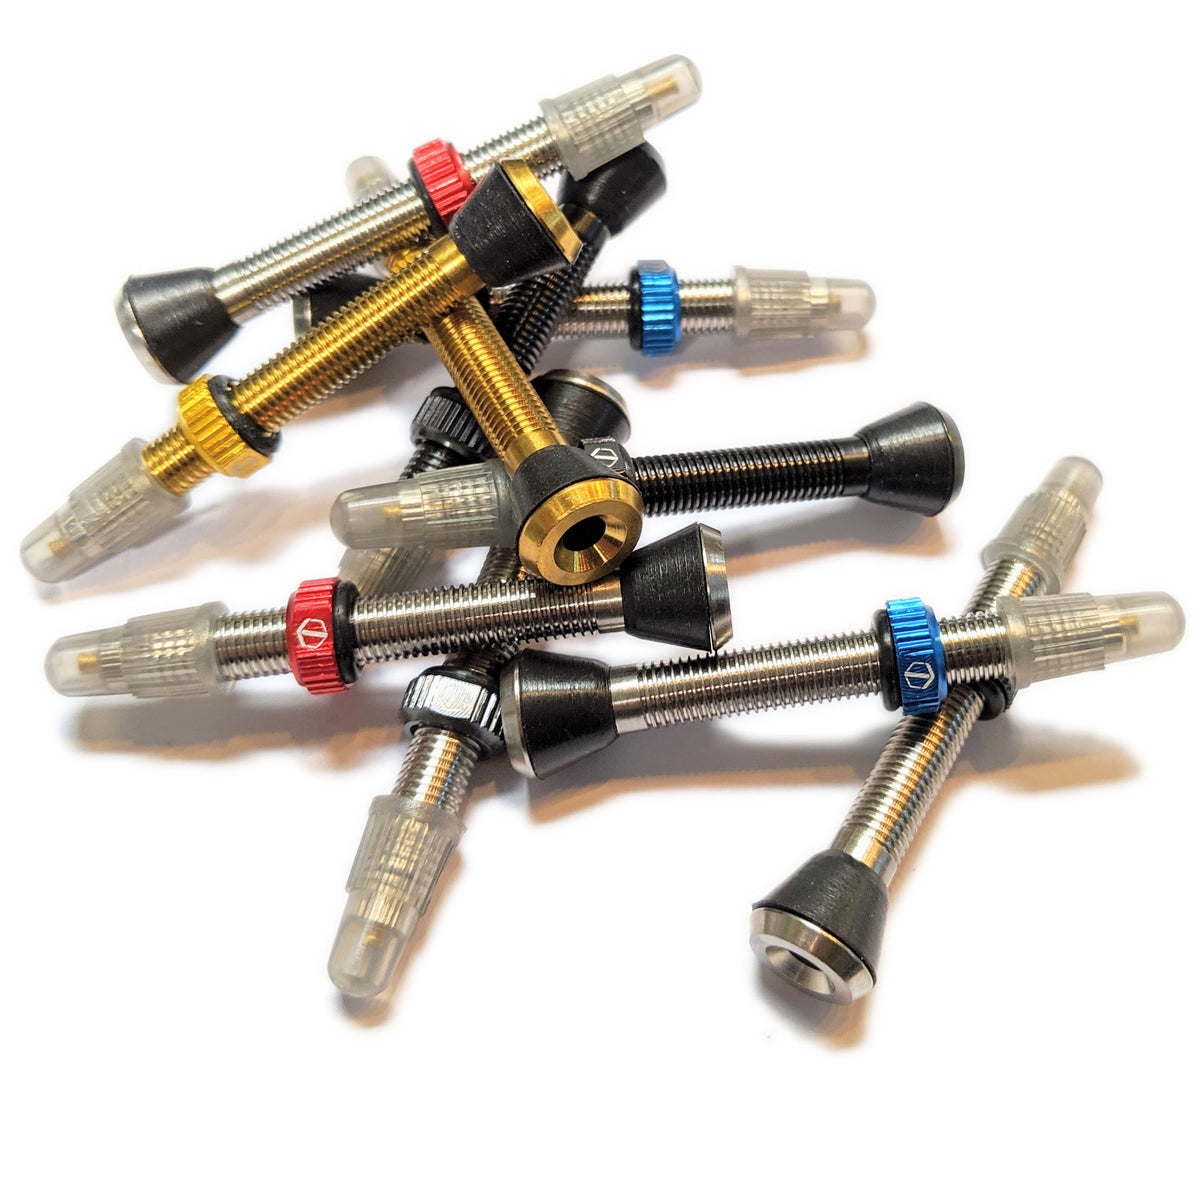
Titanium Tubeless Valve Stems
![]()
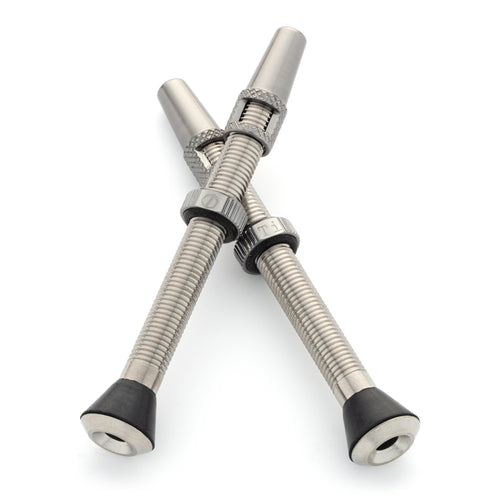
- Vendor
- Terske
- Regular price
- from $39.95 USD
- Sale price
- from $39.95 USD
- Regular price
-
$39.95 USD - Unit price
- per
Sold out -
RADIX Safety Helmet
![]()
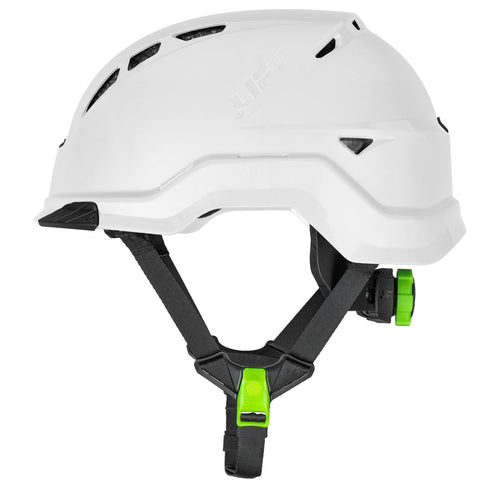
- Vendor
- LIFT Safety
- Regular price
- $119.00 USD
- Sale price
- $119.00 USD
- Regular price
-
- Unit price
- per
Sold out -
RoadLink
![]()

- Vendor
- Wolf Tooth Components
- Regular price
- $21.95 USD
- Sale price
- $21.95 USD
- Regular price
-
- Unit price
- per
Sold out -
Travel 6/8/16mm Hex Tool for Cinch Cranksets
![]()

- Vendor
- Terske
- Regular price
- $24.95 USD
- Sale price
- $24.95 USD
- Regular price
-
- Unit price
- per
Sold out -
Narwheel Thru Axle Wheel Holder
![]()
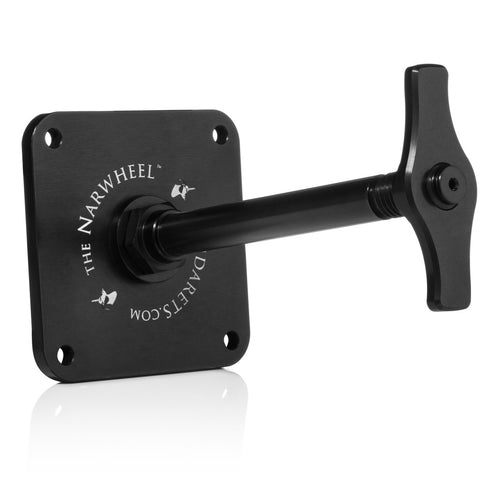
- Vendor
- Lindarets
- Regular price
- from $39.95 USD
- Sale price
- from $39.95 USD
- Regular price
-
- Unit price
- per
Sold out -
Seatpost Clamp
![]()
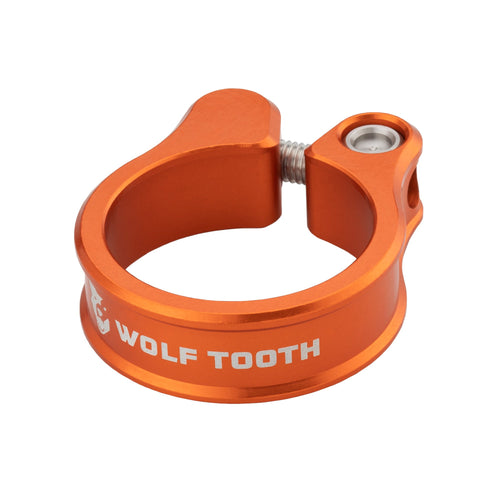
- Vendor
- Wolf Tooth Components
- Regular price
- $24.95 USD
- Sale price
- $24.95 USD
- Regular price
-
- Unit price
- per
Sold out -
Tanpan
![]()
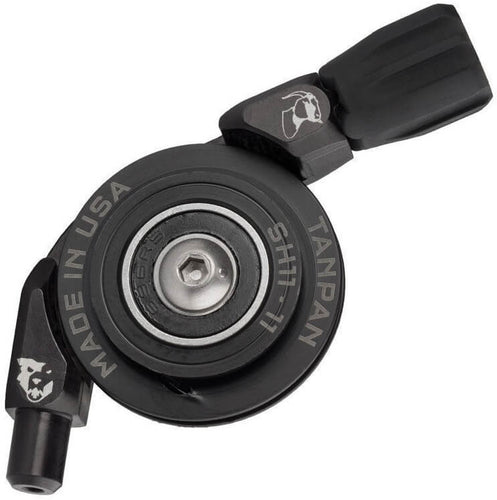
- Vendor
- Wolf Tooth Components
- Regular price
- $44.95 USD
- Sale price
- $44.95 USD
- Regular price
-
- Unit price
- per
Sold out -
Boostinator Axle Conversion Kits
![]()
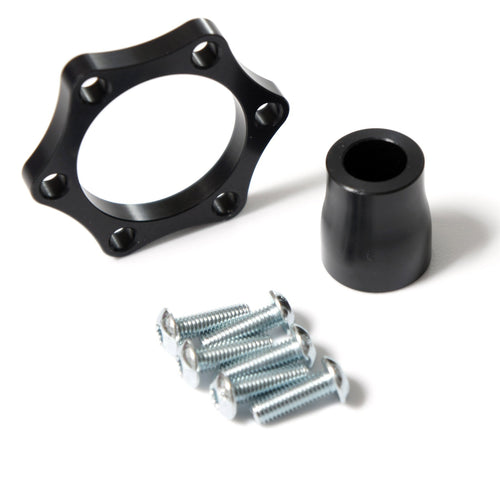
- Vendor
- Wolf Tooth Components
- Regular price
- $24.95 USD
- Sale price
- $24.95 USD
- Regular price
-
- Unit price
- per
Sold out -
GoatLink
![]()
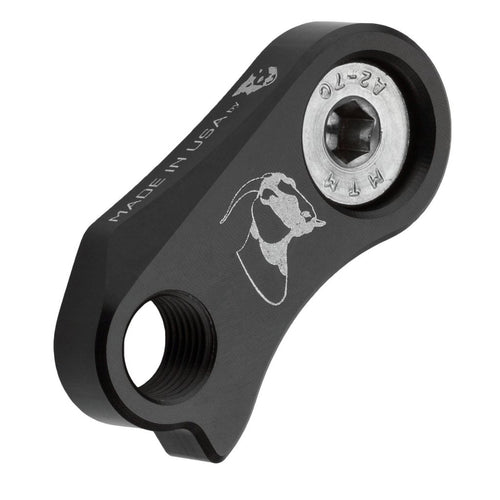
- Vendor
- Wolf Tooth Components
- Regular price
- $19.95 USD
- Sale price
- $19.95 USD
- Regular price
-
- Unit price
- per
Sold out -
Belltower DB for Spurcycle Bells
![]()
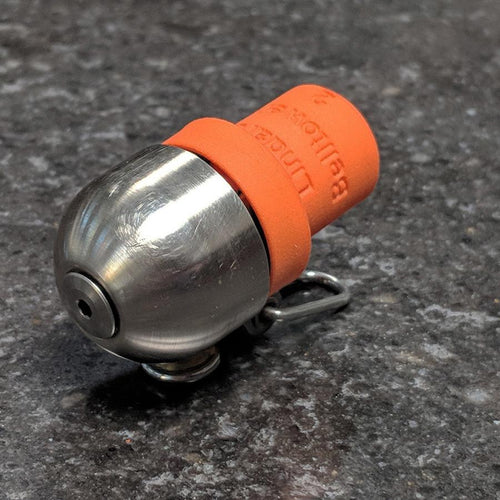
- Vendor
- Lindarets
- Regular price
- $29.95 USD
- Sale price
- $29.95 USD
- Regular price
-
- Unit price
- per
Sold out -
M-Series Magnetic Belts
![]()
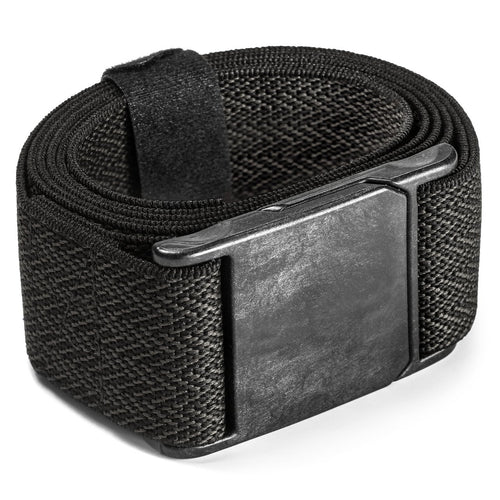
- Vendor
- Yaak Design
- Regular price
- $39.95 USD
- Sale price
- $39.95 USD
- Regular price
-
- Unit price
- per
Sold out -
Travel Disc Brake Rotor Lockring Tool
![]()
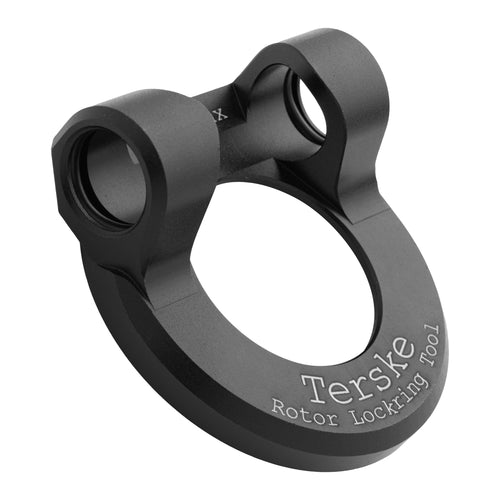
- Vendor
- Terske
- Regular price
- $24.95 USD
- Sale price
- $24.95 USD
- Regular price
-
- Unit price
- per
Sold out -
Morse Titanium & Stainless Bottle Cages
![]()
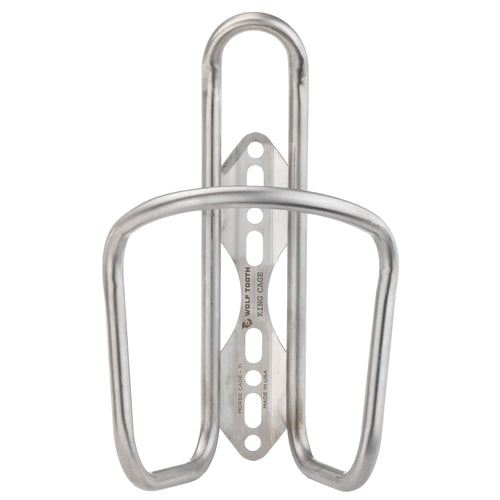
- Vendor
- Wolf Tooth Components
- Regular price
- $24.95 USD
- Sale price
- $24.95 USD
- Regular price
-
- Unit price
- per
Sold out -
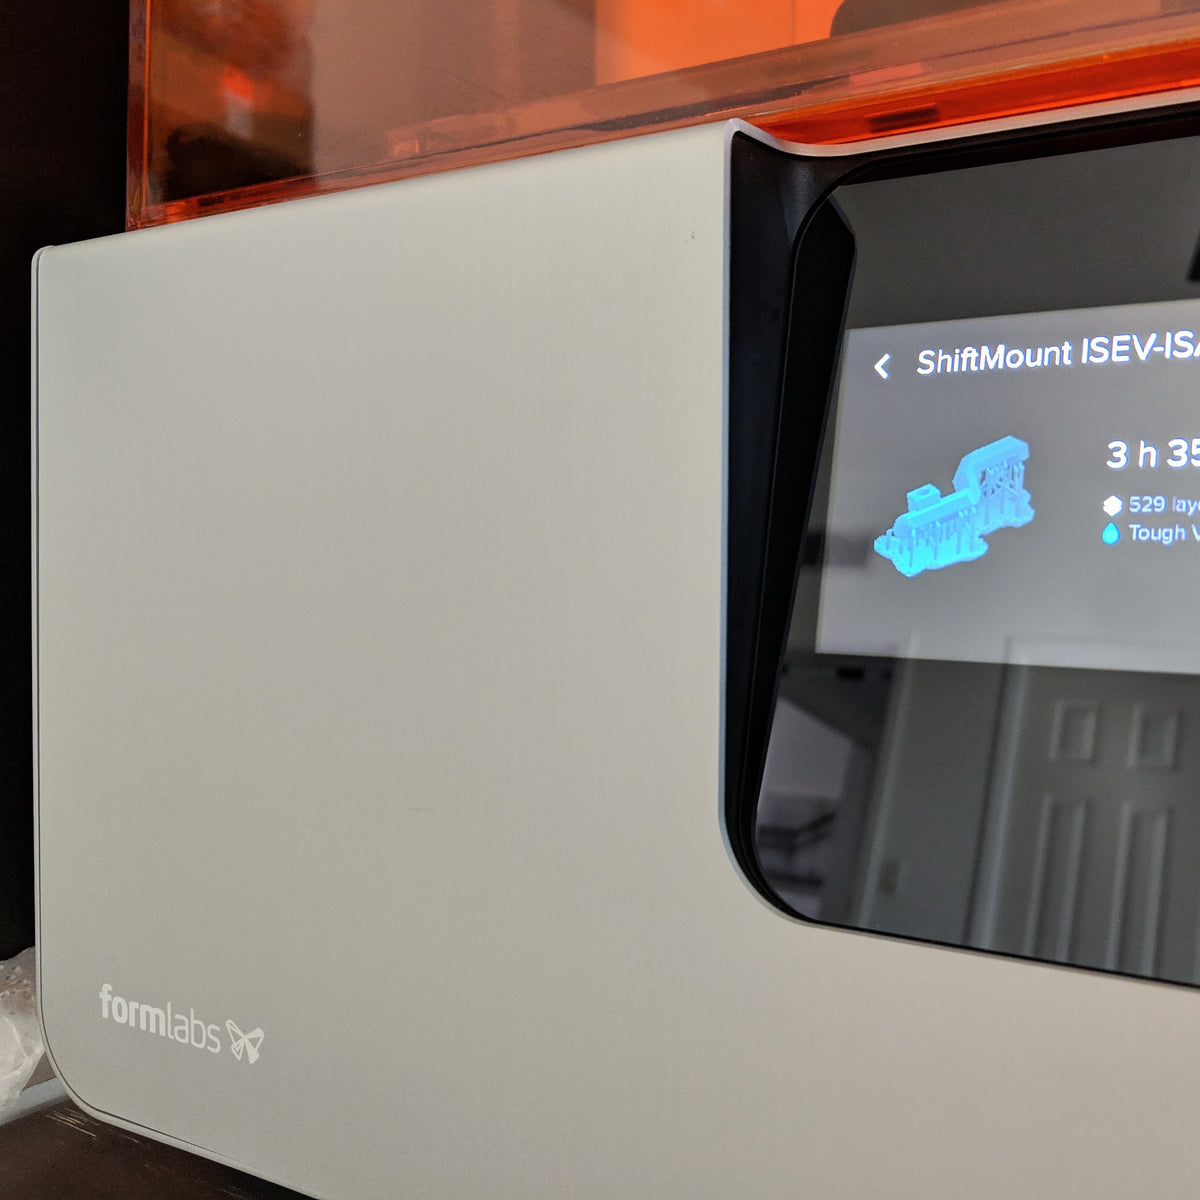
ShiftMount
![]()
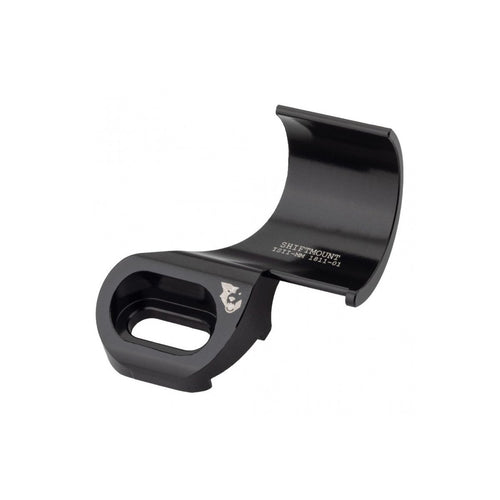
- Vendor
- Wolf Tooth Components
- Regular price
- $19.95 USD
- Sale price
- $19.95 USD
- Regular price
-
- Unit price
- per
Sold out


Looking for Terske products?
Find Terske's unique problem-solving tools and hardware at terske.com